In this guide, we’ll take you through the 5 simple steps of launching your A100 Cloud GPU instance on the CR8DL Origin Portal. With just a few clicks, you’ll have access to top performing computing power to elevate HPC, AI, and Deep Learning workloads.
Step 1: Getting Access & Logging Into Origin
- Initiate Your Request: Begin by completing the GPU Request Form. This form is your first step towards accessing our advanced resources. Provide a detailed overview of your use case to help our solutions team understand your needs.
- Await Team Engagement: After submitting the form, a member of our solutions team will contact you to finalize the setup process. This interaction ensures that your specific requirements are met and that you’re guided through the next steps.
- Activate Your Origin Account: Once the setup is complete and your Origin account is activated, you will receive your login credentials. These credentials are your key to accessing a world of advanced GPU resources tailored to your project.

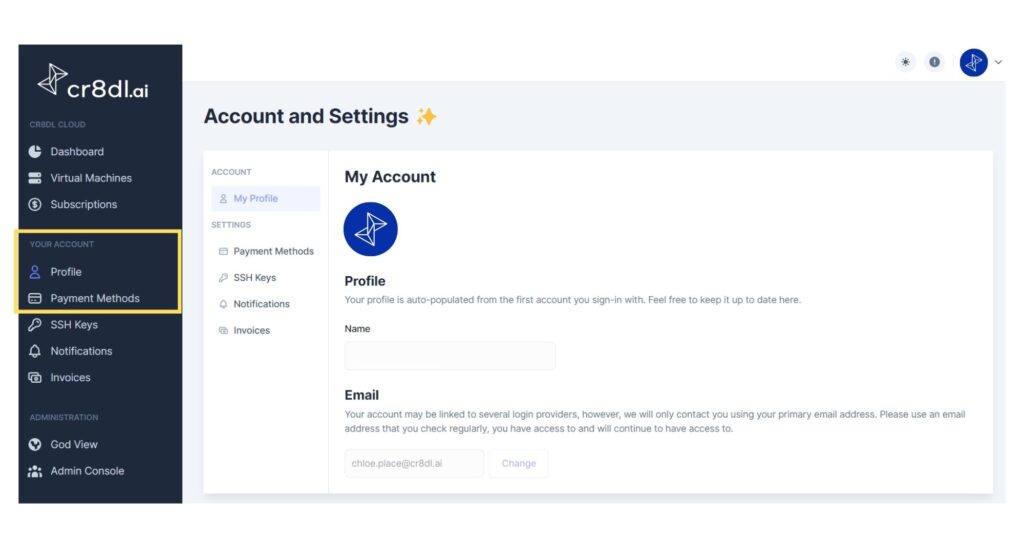
Step 2: Complete Profile Set Up
To ensure a smooth experience, take a moment to add your profile details and payment method. This will enable us to provide you with seamless service and ensure a hassle-free subscription process.
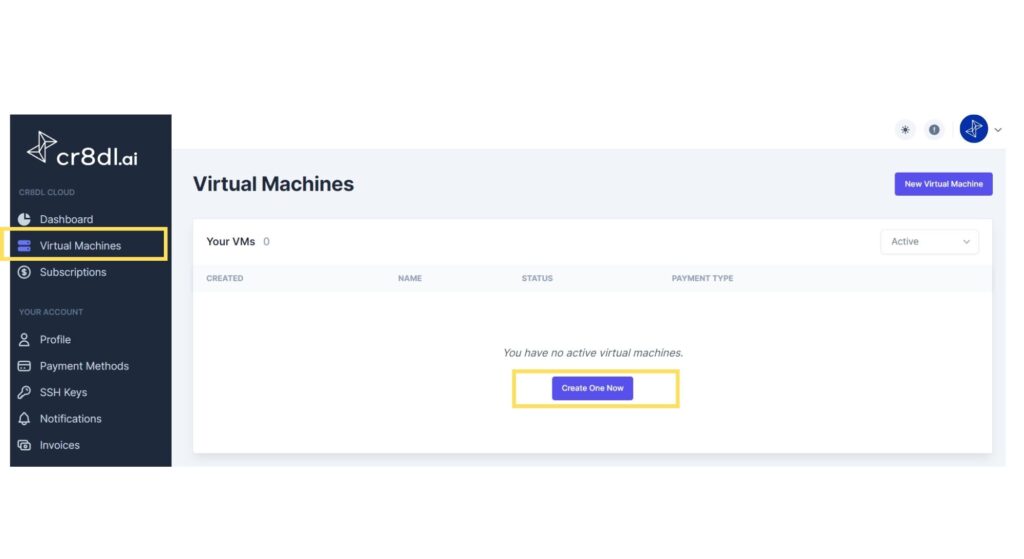
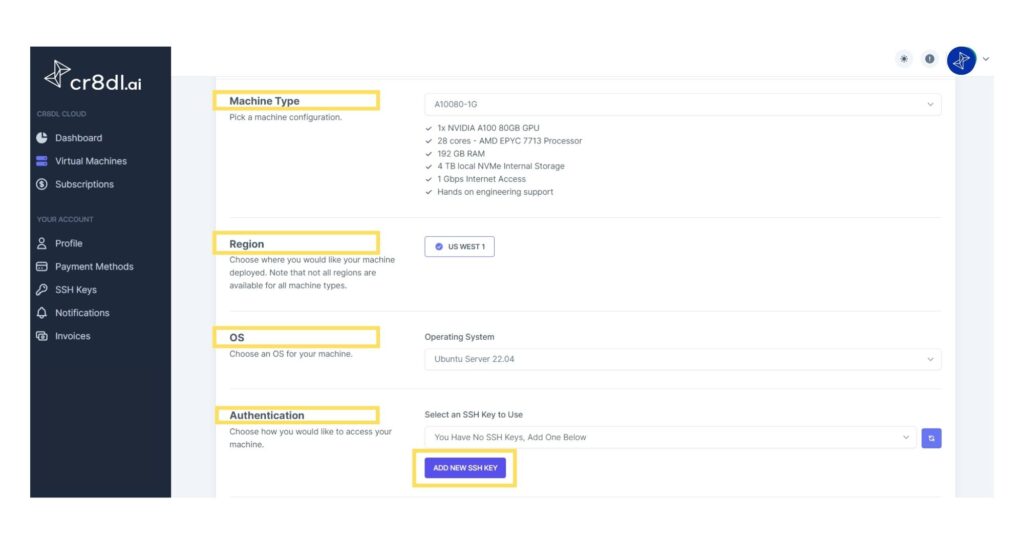
Step 3: Configuring Your Virtual Machine
It’s time to configure your virtual machine. This step involves selecting a machine type, region, operating system, and authentication options. If you’re a first-time user, you’ll have the option to add a new SSH key for secure access.
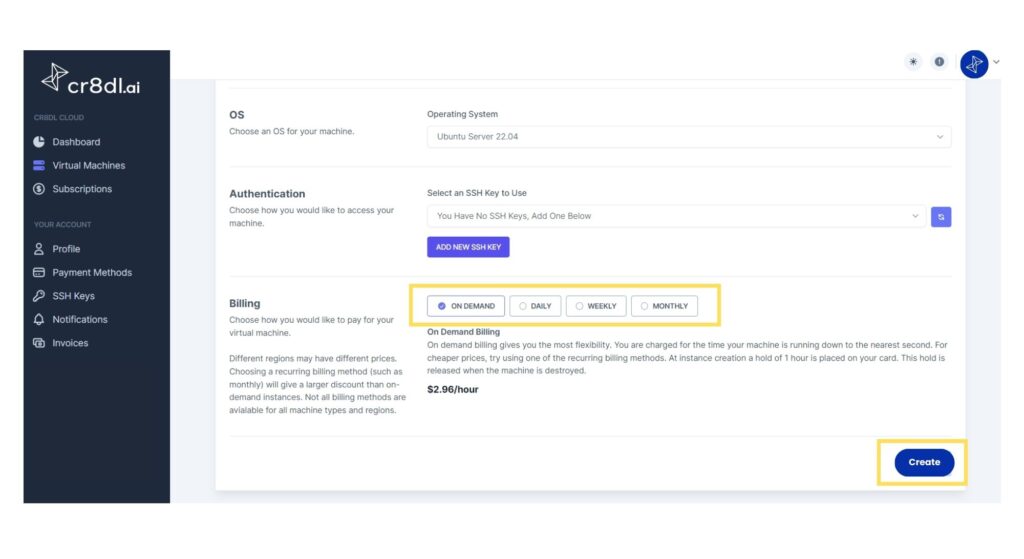
Step 4: Choose Your Subscription Option
With your virtual machine configured, it’s time to select the subscription option that suits your needs. Origin offers a range of flexible subscription options, including on-demand and daily, weekly, and monthly reserved options. Choose the option that best aligns with your project timeline and budgetary considerations.
- All instances include:
- 1x NVIDIA A100 80GB GPU
- 192GB RAM
- 24vCPUs
- 4TB NVMe Storage
- 1 Gbps Internet Access
- Ubuntu OS
- Hands-on Engineering Support
Select create and let Origin begin spinning up your instance. Provisioning will take up to 15 minutes.
Step 5: Launching Your Virtual Machine
Retrieve Your Instance URL And SSH Key
Now that your virtual machine is up and running, retrieve your instance URL under ‘Virtual Machines’ and have your private key handy. This will be essential for connecting to your instance.

Accessing Your A100 Instance
Using your preferred terminal and private key, SSH into the instance. This will establish a secure connection, giving you full control over your Cloud GPU instance.
That’s it! You’re now ready to accelerate your projects. Have more questions about our Cloud GPU service? Visit our FAQ page.
A Friendly Reminder: As you enjoy the seamless performance of your Cloud GPU Instance, please keep in mind that data will be purged upon subscription expiration. To avoid any data loss, we strongly recommend retrieving all necessary information prior to the expiration date.